How to allocate a Tutor to learners (on setup and afterwards from Course Search/Unit Search)
This help
guide will explain how to allocate a Tutor to a learner or learners. You will
need to be logged into the system as an Admin role in eAssessor Pro.
1. To get started, log in using an Admin account on your platform.

If you
have forgotten your password for your account, Click on Forgotten Password?
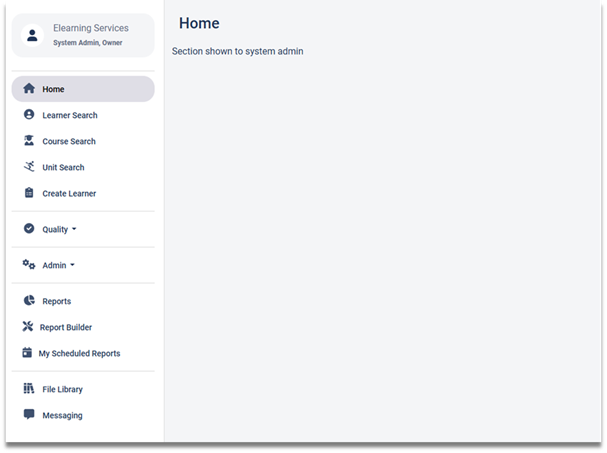
2. Once Logged in, you will be greeted with
your Dashboard.
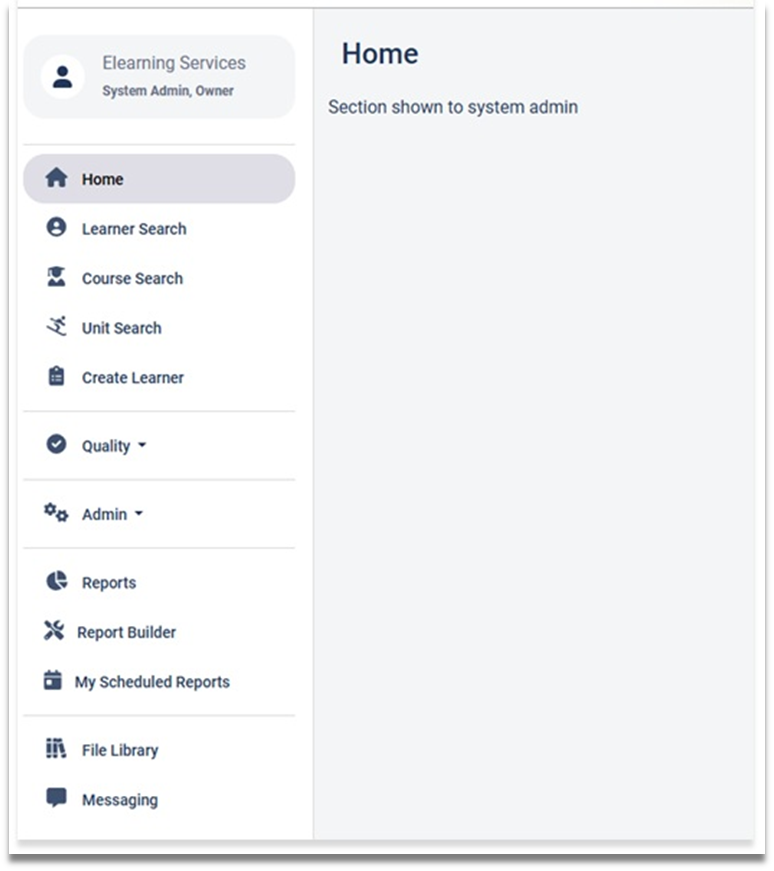
3. From here select Admin > Users.

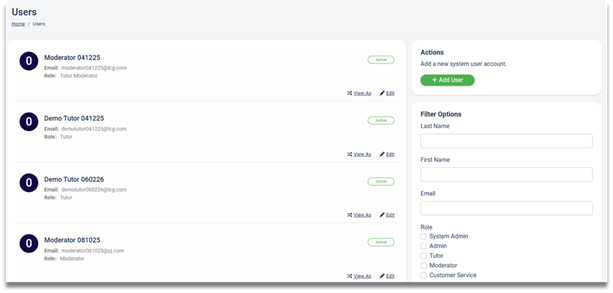
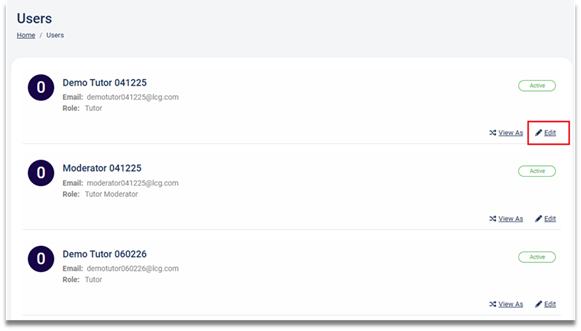
4. Once the User has been selected you
will be shown a list of users in the system.
5. Select the Tutor you wish to allocate to a
learner.
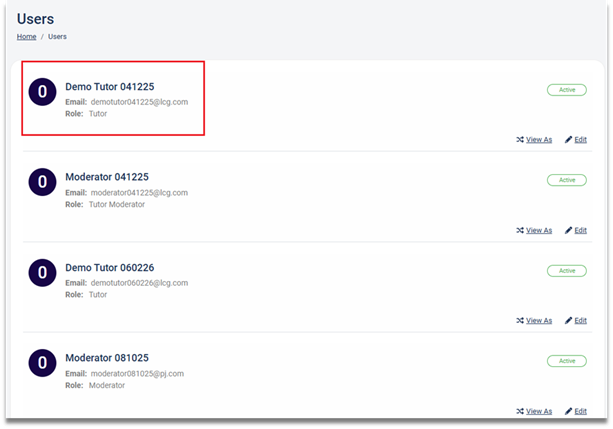
6. Once you have chosen your Tutor click on the Edit link.
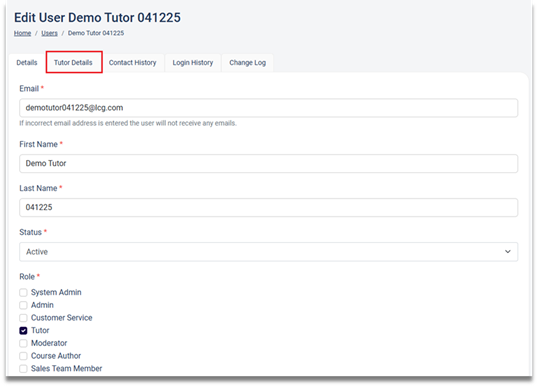
7. Once the edit link has been clicked, it
will take you into the Tutors account.
8. From the Tutors account click on the Tutor
Details tab.
9. Once the Tutor Details tab has been selected,
then the Tutor Details page will be displayed.
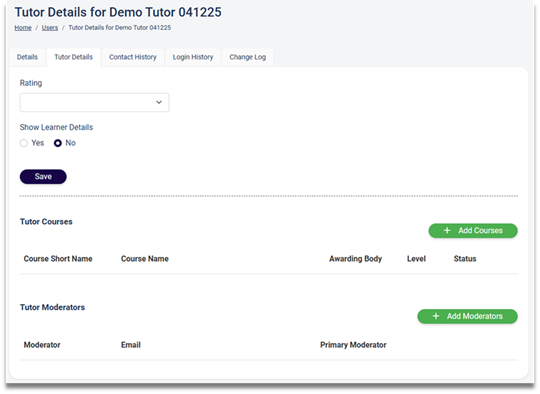
10. To
add a course to a Tutor, click on the Add Courses button.
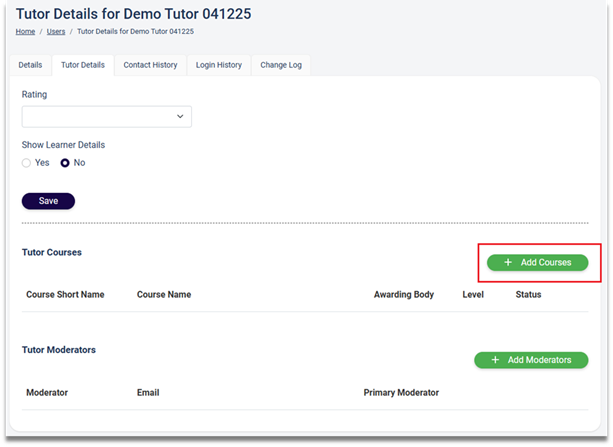
11. Once
the Add Courses button has been clicked, the Select Courses pop-up window will be displayed.
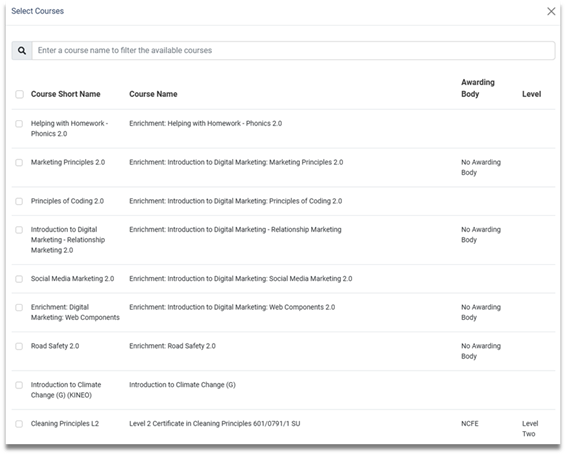
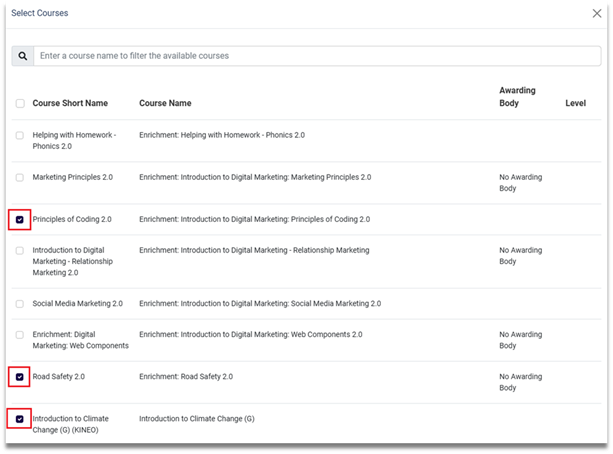
12. From
the Select Courses list you can either enter the name of the course in
the search box, or alternatively you can scroll through the list of courses and
click on the checkbox of the courses you would like to add to the Tutors
account.
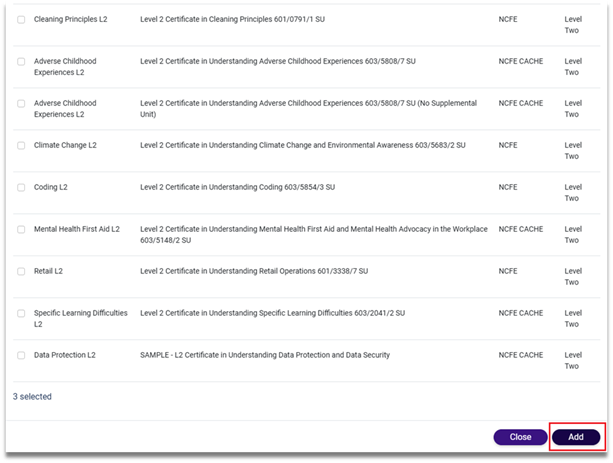
13. Once
all courses have been selected, scroll down to the bottom of the page and click
on the Add button (this will add the courses selected to the
Tutors account).
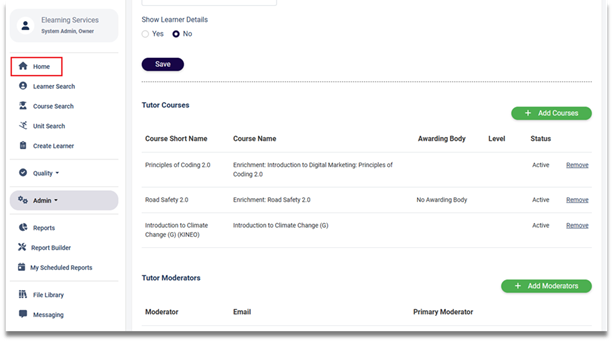
14. Once
the Add button has been clicked, the course(s) are added to the Tutors
account.
15. You
now need to allocate the Tutor to a learner. To do this click on the Home page link from the dashboard.
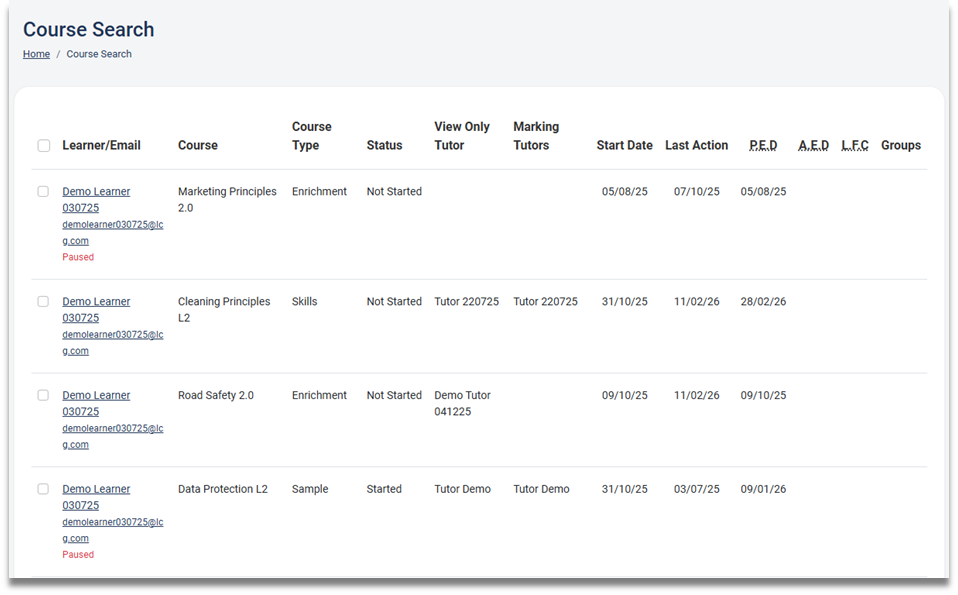
16. Once
you are on the Home page, click on the Course Search link.
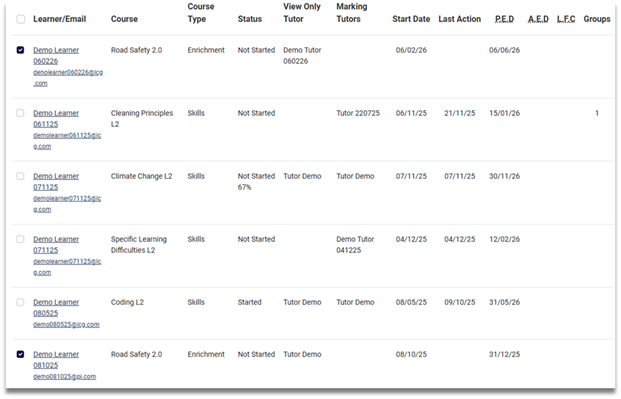
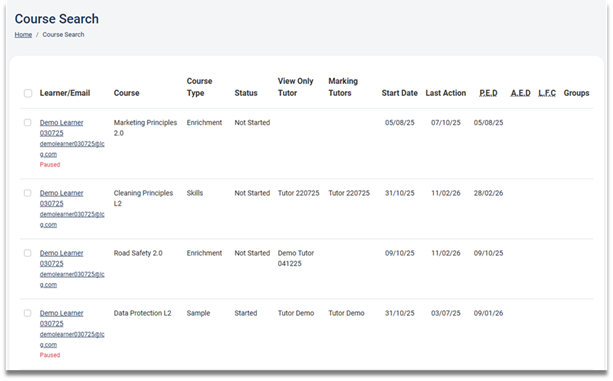
17. From
the list of learners shown, select the learner(s) you require. This can be done
either by Scrolling through the list of learners or you can search for the learner
using the ]
Filter Options, both options will be shown in the sections below.
Searching by scrolling through the list
Searching by scrolling through the list
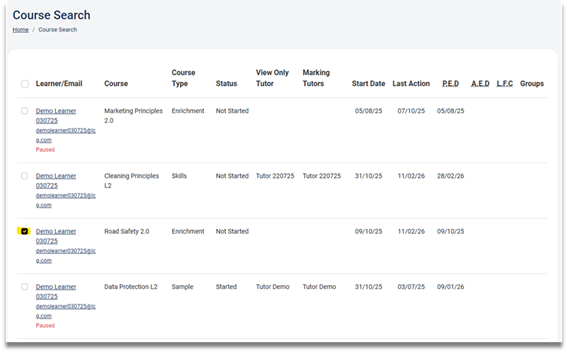
1. Once
you have found the learner(s) you require tick the checkbox next to their
names.
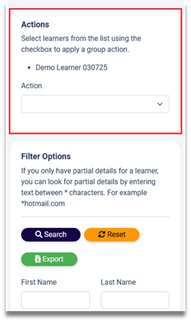
2. Once the learner(s) have been selected,
in the Actions column, you will see the learners that have been selected.
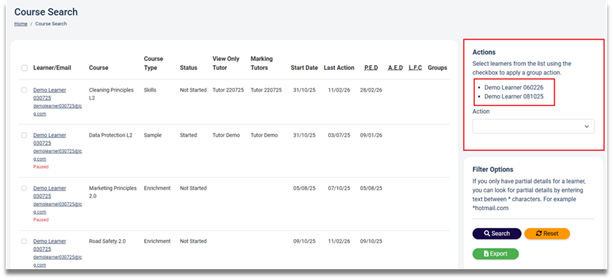
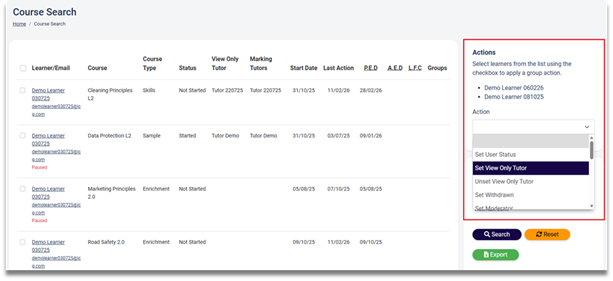
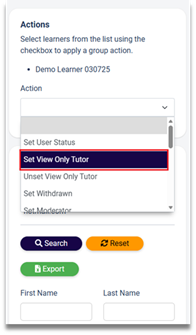
3. Next
click on the drop-down box in the Actions column, this will show
different actions that can be performed, in this example we will select Set
View Only Tutor option.
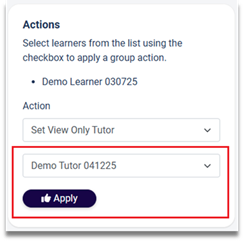
4. When the Action is set to Set View
Only Tutor a second drop-down box will appear, this allows you to select
the Tutor you would like to set as the View Only Tutor.
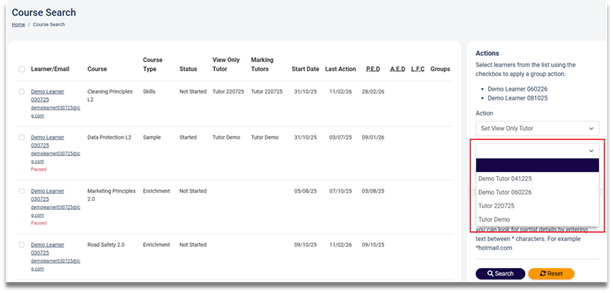
5. From the Tutors available choose which Tutor
you require.
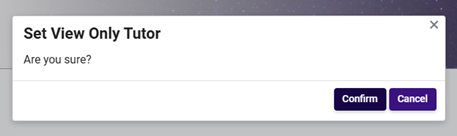
6. Once chosen, click on the Apply button.
A pop-up message will appear asking you to confirm that you wish to Set View
Only Tutor, click on the Confirm button.
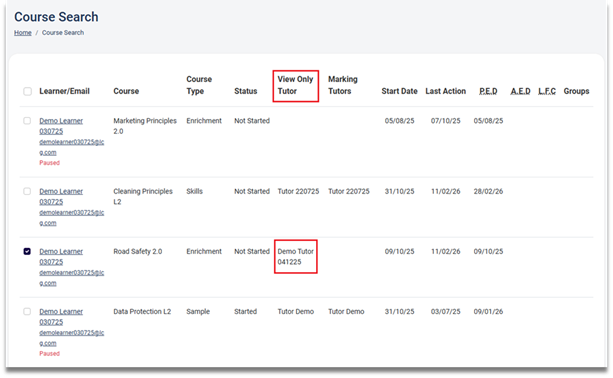
7. Once the confirm button is clicked the selected learner(s), the View Only Tutor column will be updated.
Search by using Filter Options
Search by using Filter Options
1. How to search for learner(s) using the Filter
Options, assuming that steps 1-20 have been completed prior to this step.
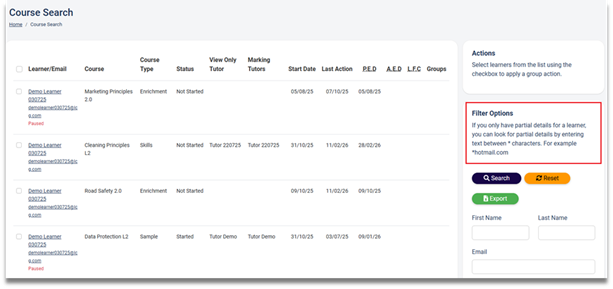
1a. You can enter the
learners First Name, Last Name, or their email address and then click on the
search button.
2. To allocate a Tutor (assuming no Tutor has
been allocated), select the learner from the list of learners shown, this is
done by ticking the checkbox next to their name.
3. Once the learner has been selected, go to the Actions column you will see the learner which has been selected.
4. From the Action drop-down box select
the Action you wish to use in this example it’s Set View Only Tutor.
5. Once you have selected the Action a
second drop-down box will be shown, this will show a list of Tutors available to
which you can allocate to the learner(s).
6. Once you have selected the Tutor from the
list shown, an Apply button will be shown.
7. Click on the Apply button a pop-up
window will be shown you will need to confirm your choice, to do this click on
the Confirm button. Once confirmed the Tutor will be allocated to that
learner(s). If you do not wish to confirm then click on the Cancel button.
8. After the allocation of the Tutor to learner(s).
You will see the View Only Tutor field updated with the Tutor selected.
Search learner(s) using the Unit Search
Search learner(s) using the Unit Search
1. To search for learner(s) using the Unit
Search options click on the Unit Search.
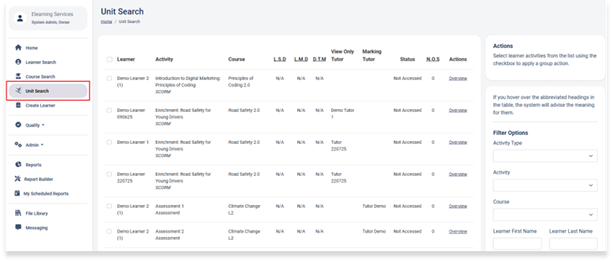
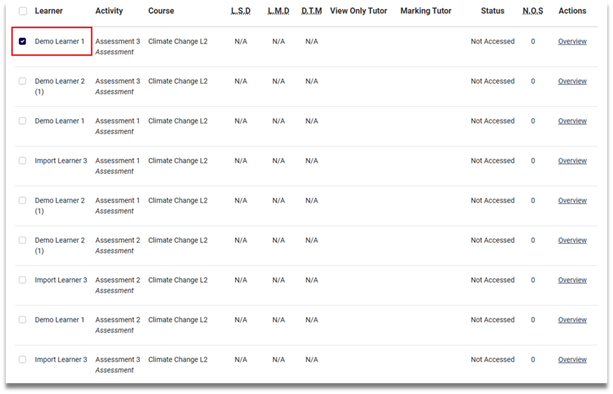
2. Once the Unit search has been clicked
the Unit Search page will be displayed, from the list of learners shown,
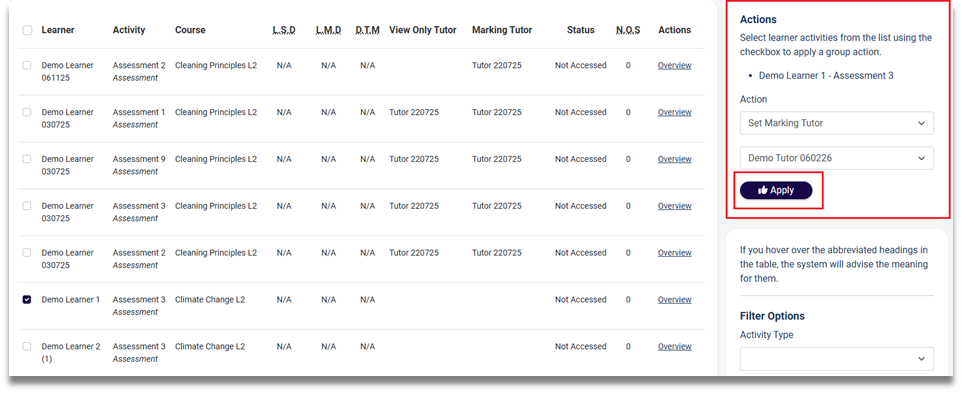
select the learner(s) by ticking the checkbox next to their name.
3. When the learner(s) have been selected, in
the Actions column you can select the action you want to set for
that learner by clicking on the drop-down box.
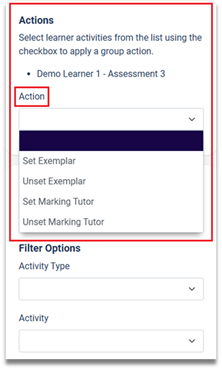
4. From the drop-down box choose the one you
require (in this example Set Marking Tutor) will be used. Once the Set
Marking Tutor has been selected a second drop-down box will appear.
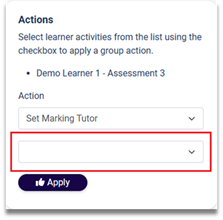
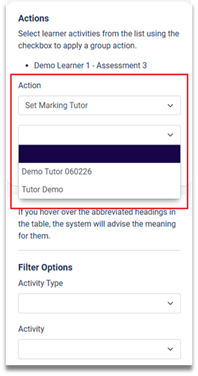
5. Click on the drop-down text box and choose
the Tutor. Then click on the Apply button.
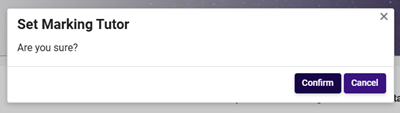
6. Once the Apply button has been
clicked a confirmation box will pop-up on screen, click on the Confirm
button to confirm your action, if not, then click on the Cancel button.
7. Once the Confirm button has been
clicked the Marking Tutor column is updated with the details of the
Tutor.
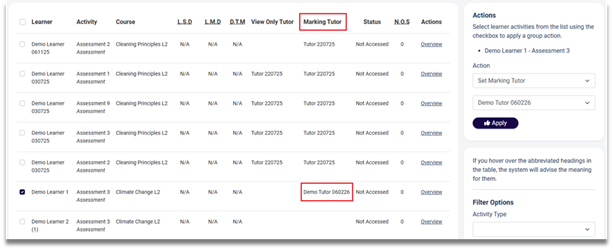
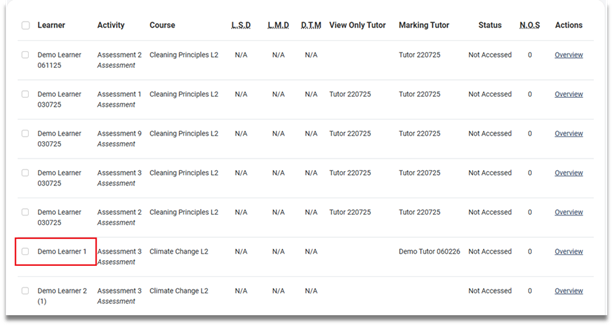
8. Once the Marking Tutor has been selected and
updated, you may untick the learner that was selected.
9. Next click on the Home page icon,
this will take you back to your home page.
How to assign a Tutor to a Learner using the Course Search Feature
How to assign a Tutor to a Learner using the Course Search Feature
1. Assuming that you are logged in as an Admin role, click on the Course Search option.
2. Once Course Search has been clicked the
Course Search page will be displayed.
3. To access a learner account from this page,
click on the learner’s name.

4. Once the learner’s name has been clicked the View
Learner page will be shown.
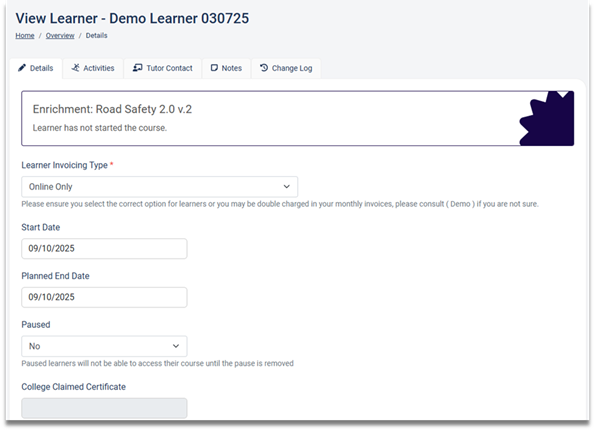
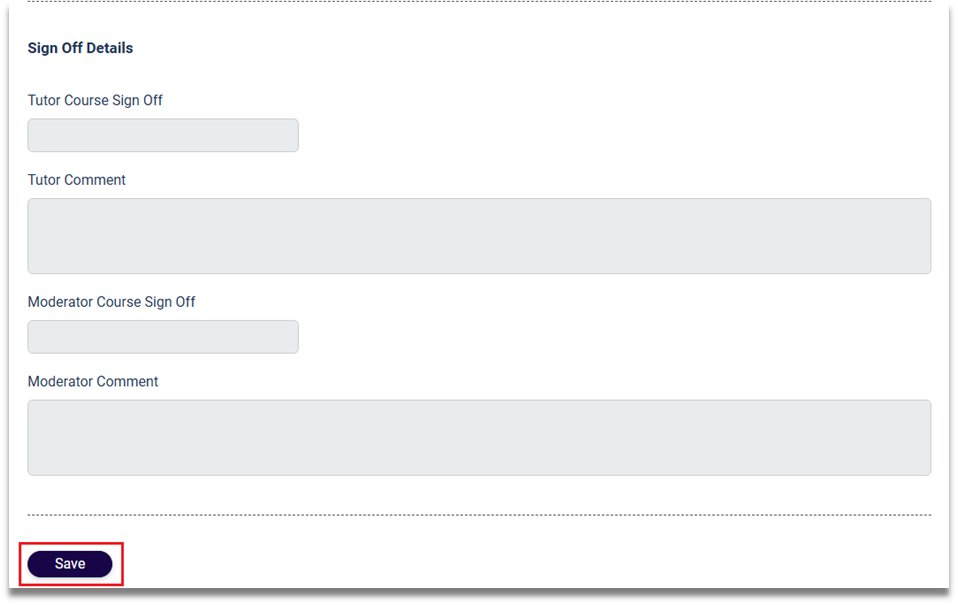
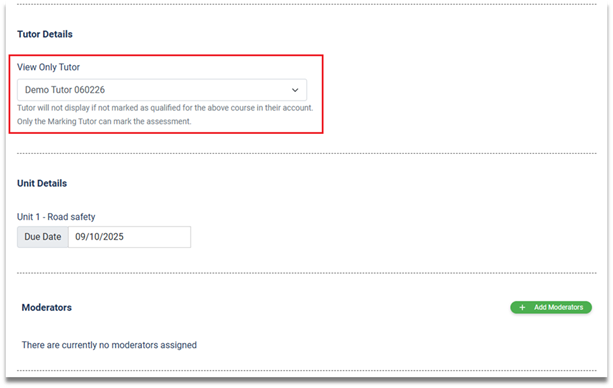
5. To add a Tutor to a learners account, scroll
down to the section titled Tutor Details. This will allow you to add a View
Only Tutor and a Marking Tutor. To add a View Only Tutor,
click on the drop-down text box under the View Only Tutor option.
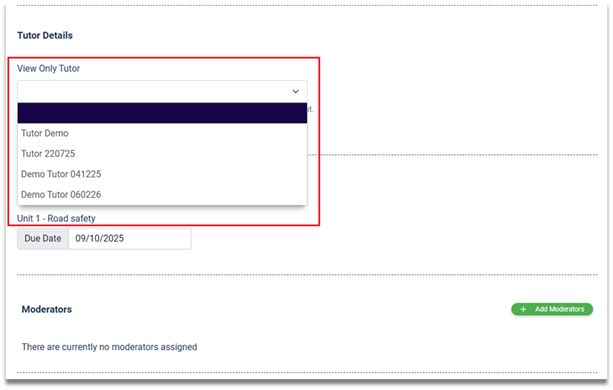
6. From the list of Tutors available select the one
you require.
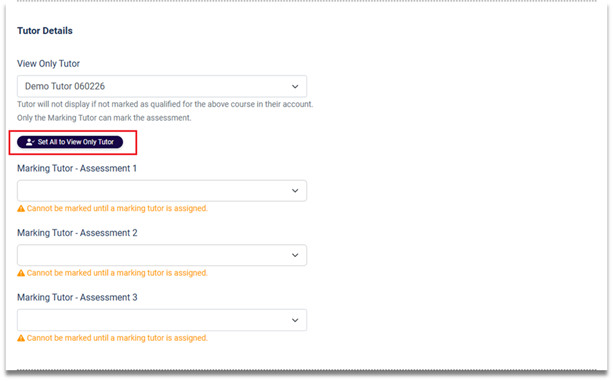
7. Once the View Only Tutor has been chosen,
you can then choose a Marking Tutor, or if the View Only Tutor is also the
marking Tutor you can click on the button named
Set All to View Only Tutor.
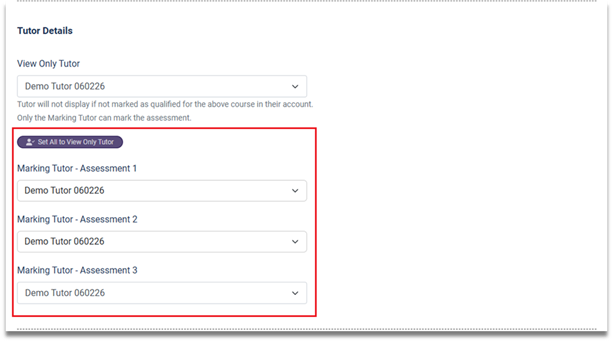
8. Once the Set All to View Only Tutor button is
clicked then all the Marking Tutor assessments will be populated with the View
Only Tutor details.
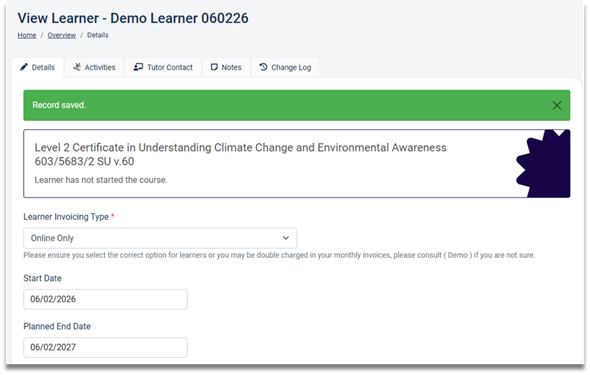
9. Once the Tutor(s) have been assigned to the
learner scroll down to the bottom of the page and click on the Save button.
10. Once the Save button has been clicked a Record Saved message will be displayed at
the top of the page.
How to assign a Moderator to a Learner using the Course Search Feature
How to assign a Moderator to a Learner using the Course Search Feature
1. Assuming that you are logged in as an Admin
role, click on the Course Search option.
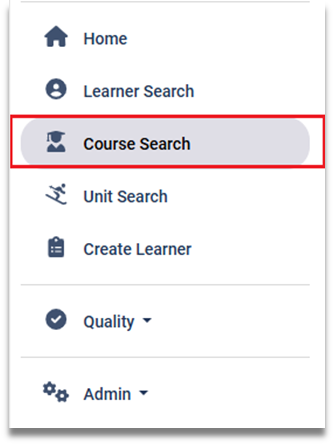
2. Once the Course Search has been clicked the
Course Search page will be displayed.
3. To access a learner account from this page,
click on the learner’s name.
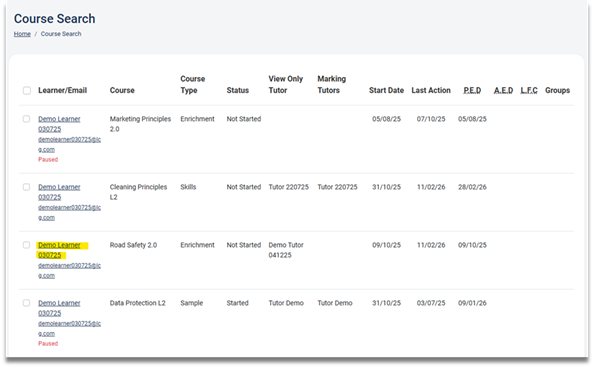
4. Once the learner’s name has been clicked the View
Learner page will be shown.

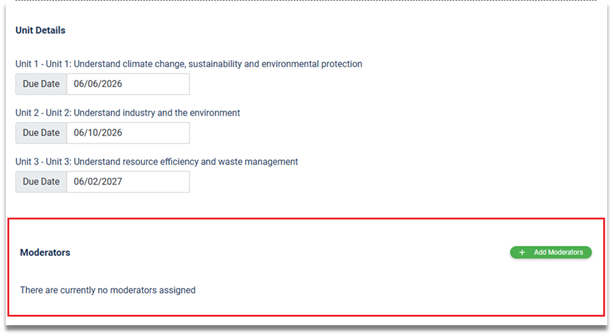
5. To add a Moderator to a learner’s account,
scroll down to the section titled Moderators. This will allow you to add
a Moderator to a learners account
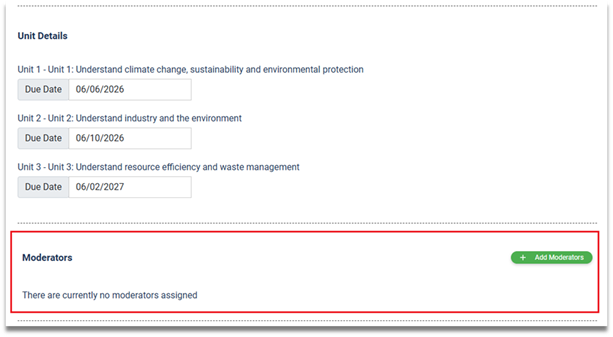
6. To add a Moderator, click on the Add
Moderators button.
7. Once the Add Moderators button has been
clicked a pop-up window will be displayed, this will show a list of available
Moderators for the course which the learner is currently enrolled on.
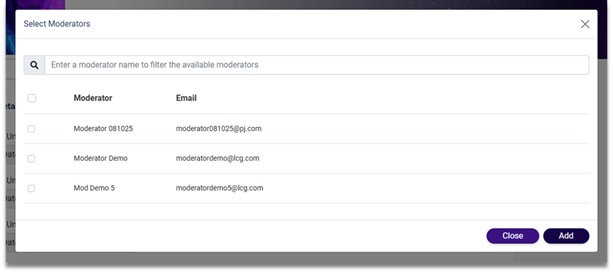
8. From the list of Moderators shown select which
one you require for this learner. This is done by clicking on the checkbox next
to the Moderator’s name. Then click on the Add button.
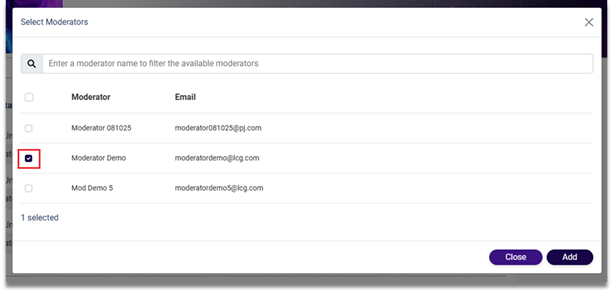
9. Once the Add Moderator button has been
clicked, the selected Moderator will be added to the learner’s account.
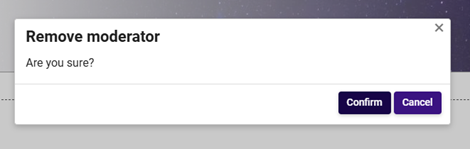
10. Remove the Moderator from the learner’s account simply click on the Remove
link. Once this is clicked a pop-up message will be displayed. Next click
on the
Confirm button.
11. Once the Confirm button has been clicked the Moderator will be removed from the
learner’s account.
12. Once the Moderator has been added / removed, scroll down to the bottom of the page
and click on the Save button, this will save any changes that have been made on
the learner’s account.